Let’s assume you have a color document that needs to be converted to grayscale. The reason for this can be that it’s cheaper to print a grayscale than a full color document, or OCR results may be better when working with a grayscale document.
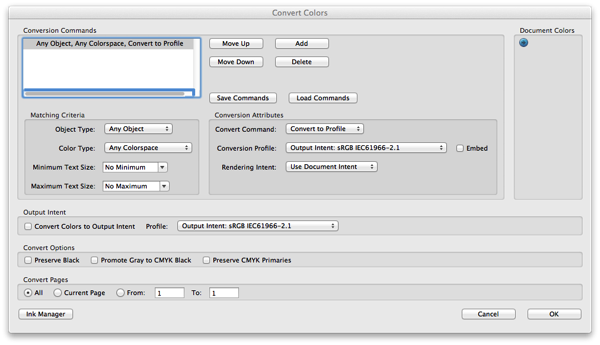
Acrobat Pro XI has all the tools to do that with one document using the “Convert Colors” tool, but how do you apply this change to e.g. all the documents in one directory?
The Preflight tool is the answer to this problem: Open up the Preflight tool (Shift-Ctrl-X or Shift-Cmd-X on a Mac), which will bring up the Preflight dialog. There are a number of different profiles that can be executed, we are interested in the “PDF fixups” category:
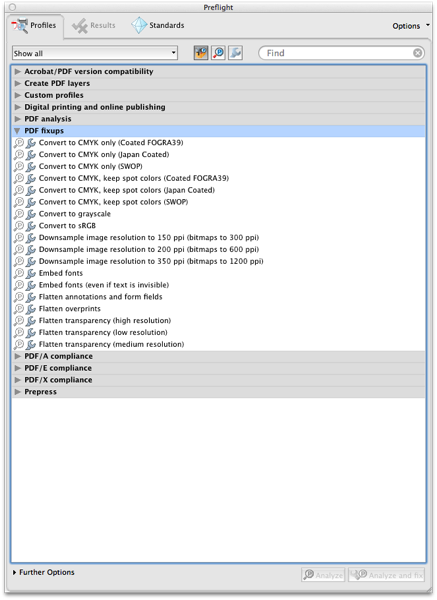
To process one file, we can open this dialog with our color PDF document open in Acrobat. When we now select the “Convert to grayscale” fixup and click on the “Analyze and fix” button in the lower right corner, the current document will be processed.
To use the same mechanism in an Action, we need to first create a new Action by expanding the “Action Wizard” panel:
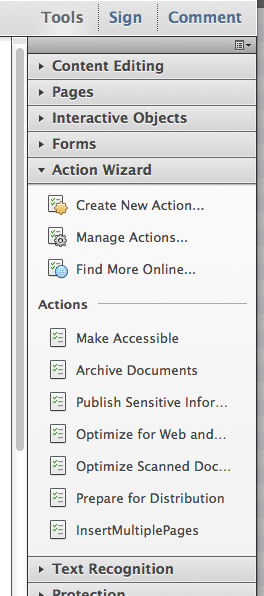
Click on the “Create New Action…” function. This will bring up the “Create New Action” dialog. In the following screen shot, I’ve already expanded the “Document Processing” category, and selected the “Preflight” tool.
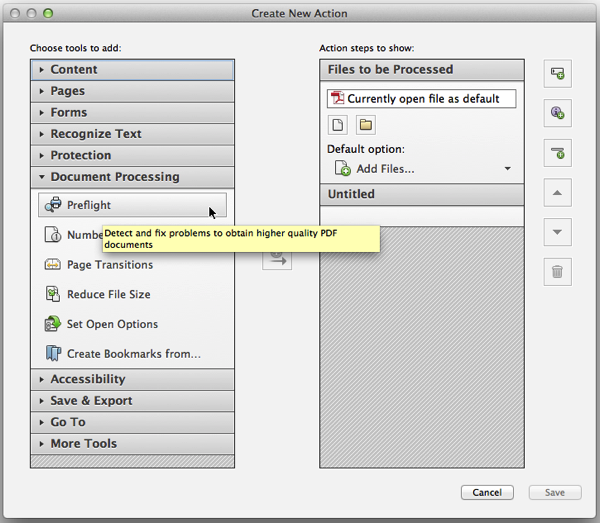
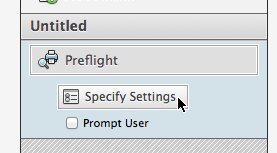
Either double-click the “Preflight” tool, or click on the arrow between the two panels to move the selected tool to the “Action steps to show” panel. Once the Preflight tool is on the right side, uncheck the “Prompt User” checkbox and click on the “Specify Settings” button:
Now select “Convert to grayscale” as the “Run Preflight check using:” setting:
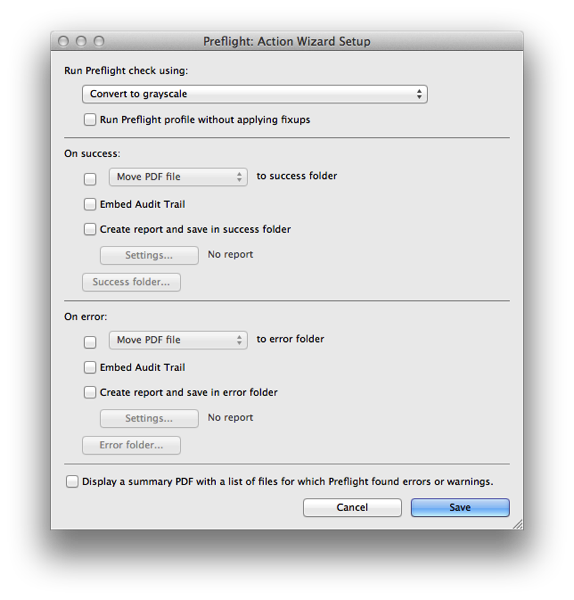
After clicking on the “Save” button, we can refine the Action. To allow the user to select the files to process when the Action is run, go to the “Files to be Processed” section and verify that the “Default option” is set to “Add Files…” or “Add Folder…” depending on how you want the Action to behave. In addition to selecting which files to open, we also need to select how to save the modified files. To do that, we add the “Save” tool from the “Save & Export” category to the end of our Action:
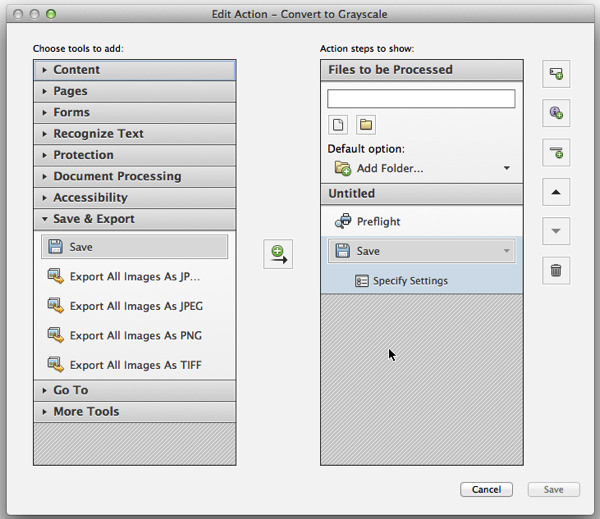
To refine the “Save” settings, click on the “Specify Settings” of the “Save” tool.
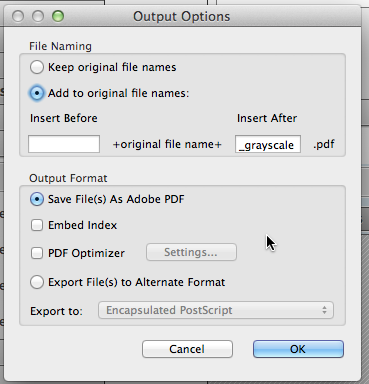
The “Save” tool gives us the choice of using the original file names, or to modify the names by either adding a constant string before and/or after the original file name. In the example above, I’ve added “_grayscale” after the original file name. There are more options that control how the file is saved, for now, we’ll just use the defaults.
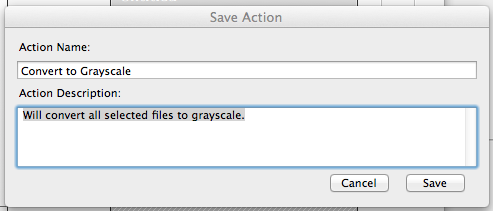
Then click on the “Save” button and specify a name for this Action, and provide a short description of what the action does, and how it would be used.
At this point, we are ready to run the Action, and process either a whole directory of PDF files, or a number of individually selected files or groups of files.
Keep in mind that Acrobat is not meant for a server-like environment: If errors occur during the processing, or if opening a PDF file results in a popup window, a user needs to acknowledge the dialog to continue the processing. Also, my experience is that for complicated actions, it is necessary to restart Acrobat after a certain number of processed documents to free up all resources leaked by Acrobat. How many files you can process until you have to restart Acrobat depends on the type of tools you are using and the type of documents you are processing. It could be a few hundred files or a few thousand files. In extreme cases, you may not be able to process 100 documents in the same action.
If you need a more reliable tool to process a large number of files automatically, take a look at the Callas Softare pdfToolbox server solution (http://www.callassoftware.com/callas/doku.php/en:products:pdftoolboxserver). This is the same technology that is used in Acrobat’s Preflight module (http://www.callassoftware.com/callas/doku.php/en:news:press:20110706), but created for a true server environment.


