Have you ever wanted to attach a document (e.g. a MS Word file) to a PDF document, and give the user the ability to launch that file with just a click on a button?
Usually, you have to save the attachment to a file, remember where you saved it, then go to that location and open the file using your Windows Explorer or the Finder on a Mac. With the solution I am about to present, that gets much easier to do for the user, but a bit more complex for the author of the PDF file.
Let’s assume we have two files, one PDF file named document.pdf and a MS Word document named attachment.docx – in the following you just have to replace your filenames with the ones that I am using.
I am using Acrobat DC Pro (running on a Mac) for the following instructions, this will work the same way (with slightly different tool names and a different user interface with older versions of Acrobat as well). You will need Adobe Acrobat – either Standard or Pro – for this, the free Reader is not able to create such documents.
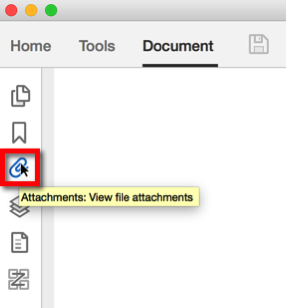
Open your PDF document and go to the “Attachments” pane on the left side of the Acrobat user interface. The “Attachments” pane is represented by the paper clip icon:
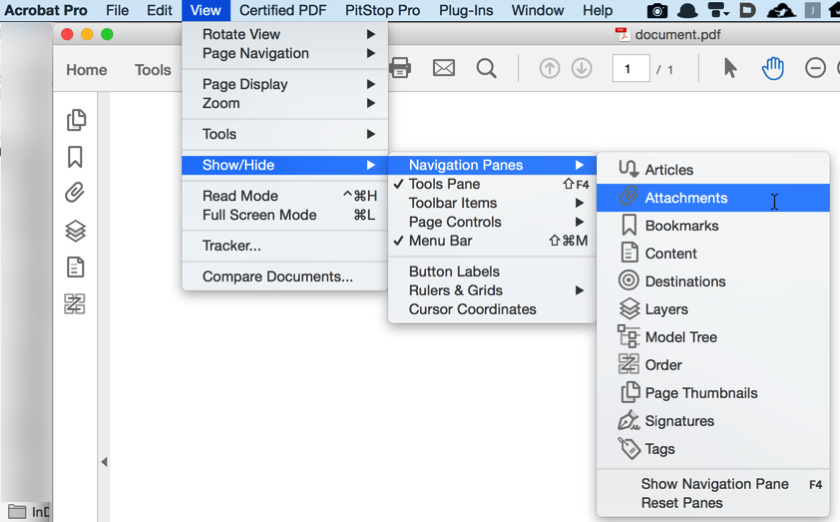
If you don’t see this pane, select the following menu to show it:
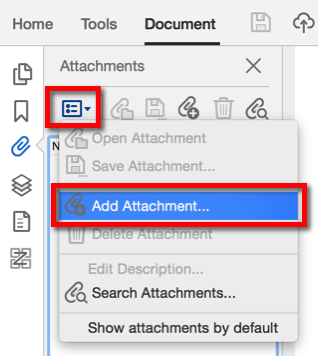
Once the “Attachments” pane is displayed, click on the menu icon as indicated in the following screenshot, and select to add an attachment:
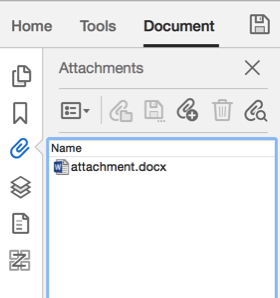
Now navigate to the file you want to attach, select it and click “OK”. This should now show you the new attachment in the “Attachments” pane:
So far we have not done anything special – this is just the process to attach a file to a PDF document. We could stop here and let the user figure out that there is actually an attachment in the PDF file, and how to open it. But that’s not what we set out to do, we want to make it obvious for the user how to display this attached document.
To do that, we need to add a button to the PDF document. There are two ways to do that: We can either open the form editor and then add a button (and deal with everything that comes with actually being in the form editor), or we can just add an interactive button. If this document is a form that contains other form fields, we of course would use the button function in the form editor, but if this is just one button we need to add, there is an easier way.
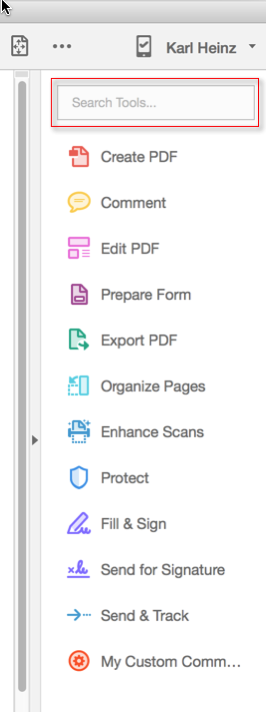
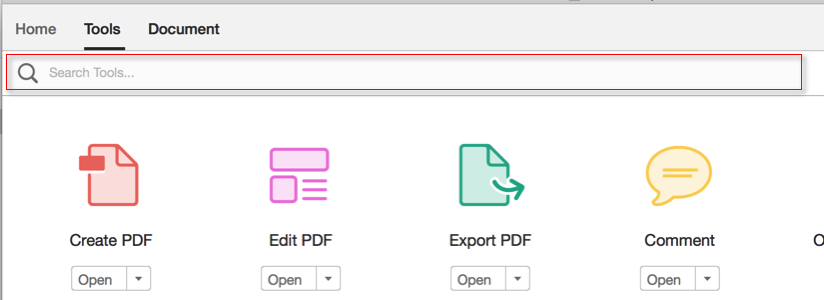
Just in case you are not yet familiar with the Acrobat DC user interface, it can be hard to find the one function you are looking for. That is why Adobe added a tool search function to Acrobat DC. There are two ways to search for tools: You can either use the search field at the top of the “Right Hand Pane” (or RHP for short), or you can select the “Tools” tab and then use the search field at the top of that dialog:
When we type in “Button” in that search field, Acrobat will tell us where the button tool is:
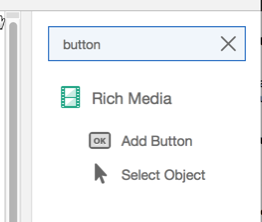
This actually gives us two tools that we need: The tool to add a button, and the tool to select that button again and to modify it (if we need to make adjustments).
For now, just click on the “Add Button” search result. This dumps us right into the “Rich Media” toolset, with the Button tool selected. This means we can now place the button on the PDF page by moving it around to the correct location and then clicking to place it.

At this time, the button tool is still selected, and we can double-click on the button to bring up it’s Properties dialog. This is where we need to make changes to give this button the ability to launch the attached Word document.
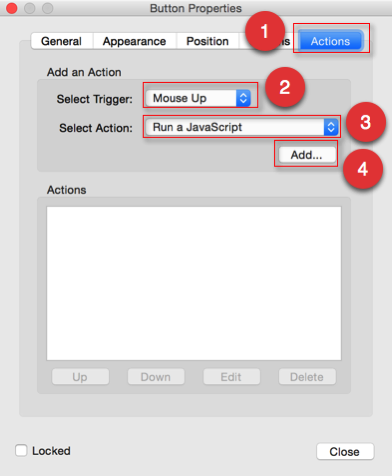
Select the “Actions” tab (1), then select to create a “Mouse Up” action (2), select to run a JavaScript (3) and click on the “Add” button (4). This will bring up the JavaScript editor. Here we have to add a one line script.
This script will call the Doc.exportDataObject() method. You can find more information about this JavaScript method here: Acrobat JavaScript API – Doc.exportDataObject()
The trick here is to use the “nLaunch” parameter set to the value “2”, which has the following descrption:
- If the value is 2, the file will be saved and then launched. Launching will prompt the user with a security alert warning if the file is not a PDF file. A temporary path is used, and the user will not be prompted for a save path. The temporary file that is created will be deleted by Acrobat upon application shutdown.
The command we are using also needs to reference the attachment name, which in our case is the filename we’ve originally imported:
this.exportDataObject({ cName: "attachment.docx", nLaunch: 2 });
Now close the editor by clicking “OK”.
A button is not very useful without a label (or an icon) on it. You can make these changes on the “Options” tab of the “Properties” dialog. After that, close the “Properties” dialog using the “Close” button and close the “Rich Media” toolset by clicking on the “x” on the right side of the toolbar.
When you now click on the button, you should see the following security dialog:

This is it. You have a button that opens a Word document.
If you are trying to launch an attachment that is already in the PDF document, the filename you need to use for the JavaScript code is the name that is being displayed in the “Attachments” pane.
If you want to edit the button properties again, bring up the tool search function again, search for “button”, and now select the “Select Object” tool. The button should change it’s look, and you can now double-click on it to bring up the properties dialog again. Or, because now we know that the button is in the “Rich Media” toolset, we can go to the “Tools” tab and select this toolset directly:
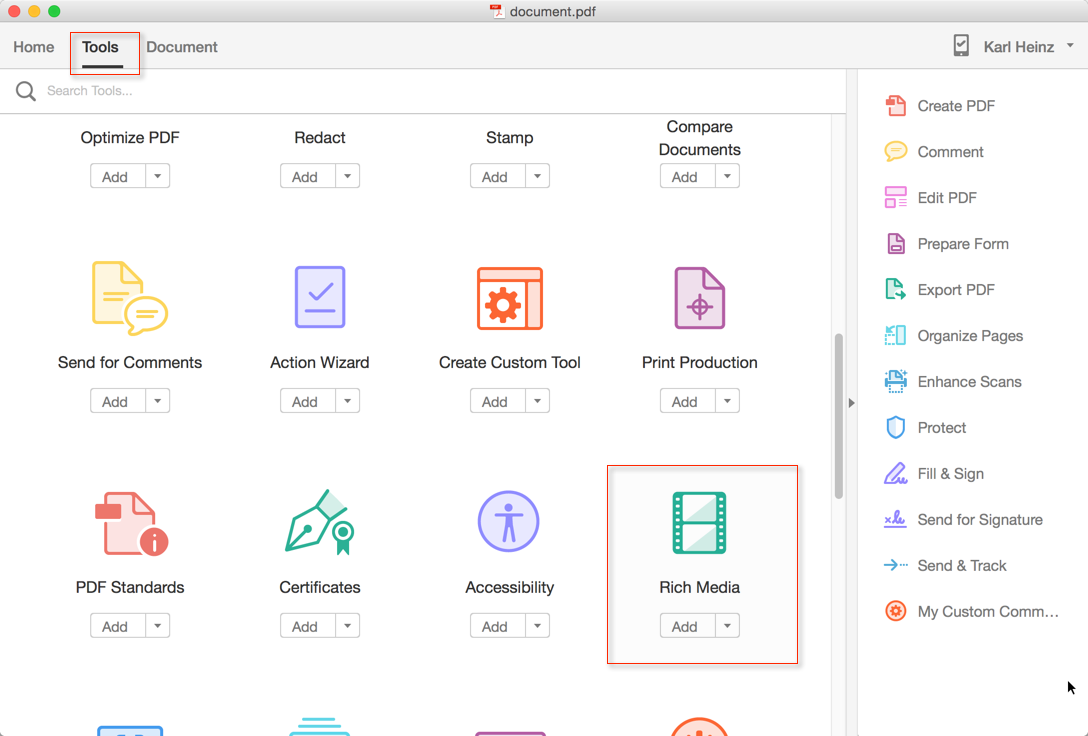
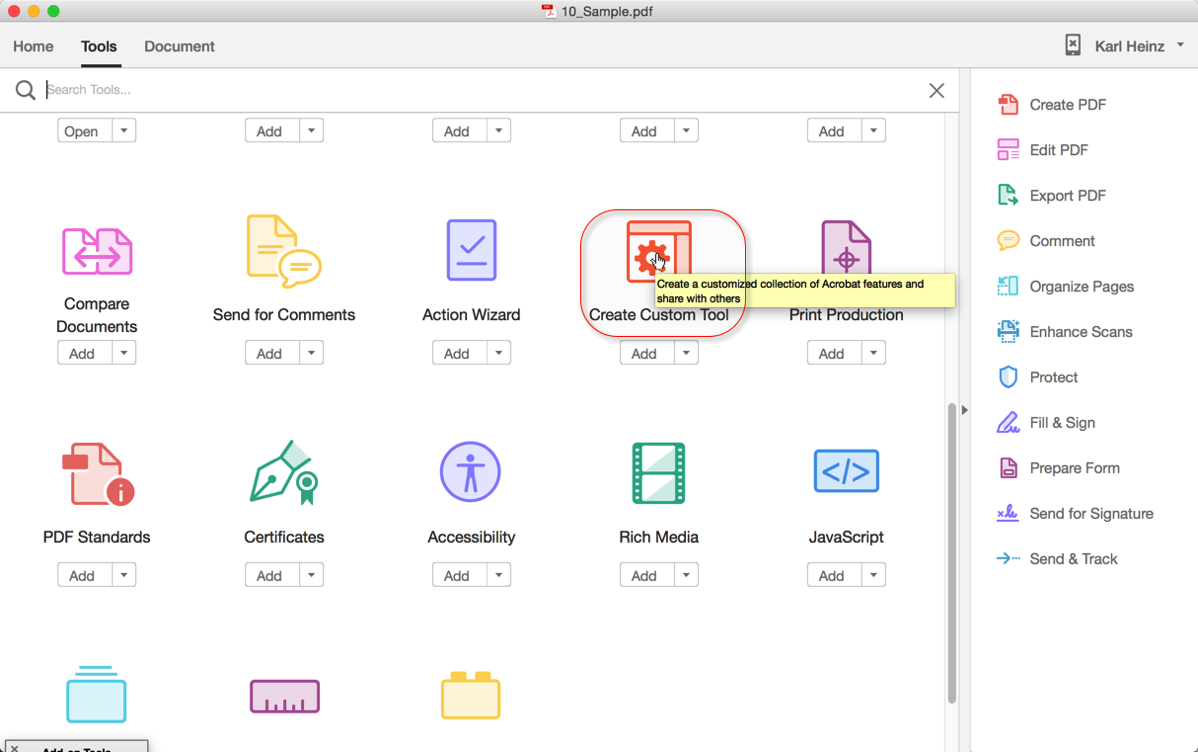
After the third time you’ve selected this tool, you probably wish that there would be an easier method of selecting the “Rich Media” toolset, and there is: You can drag&drop the toolset icon into the RHP:
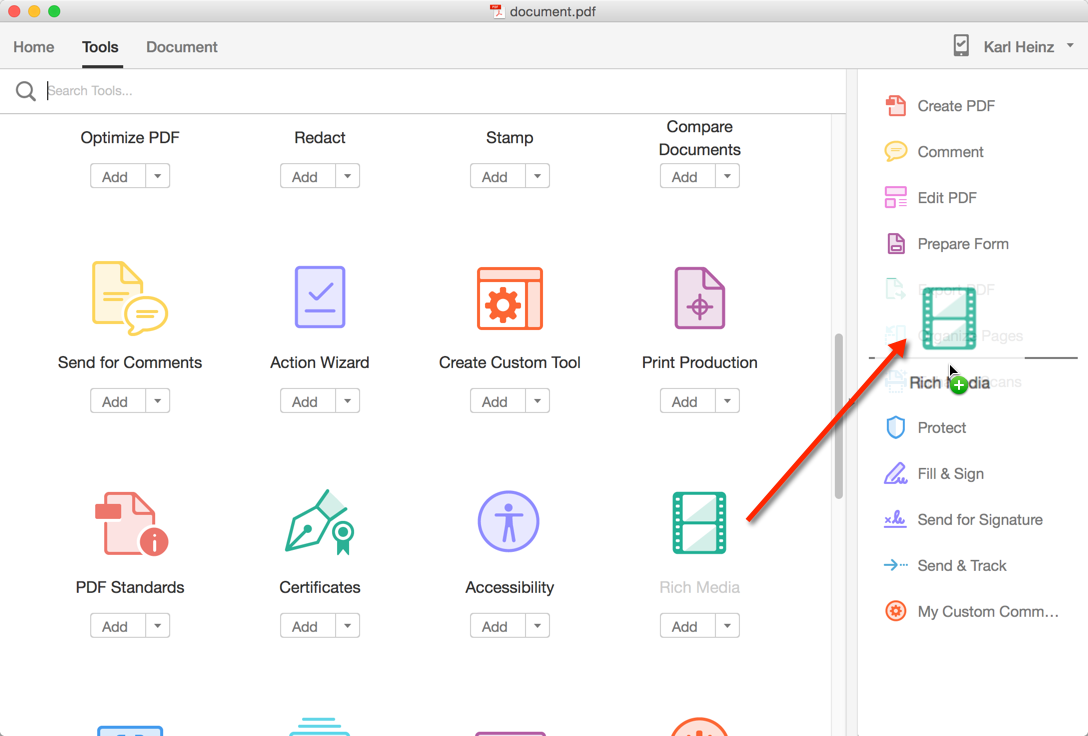
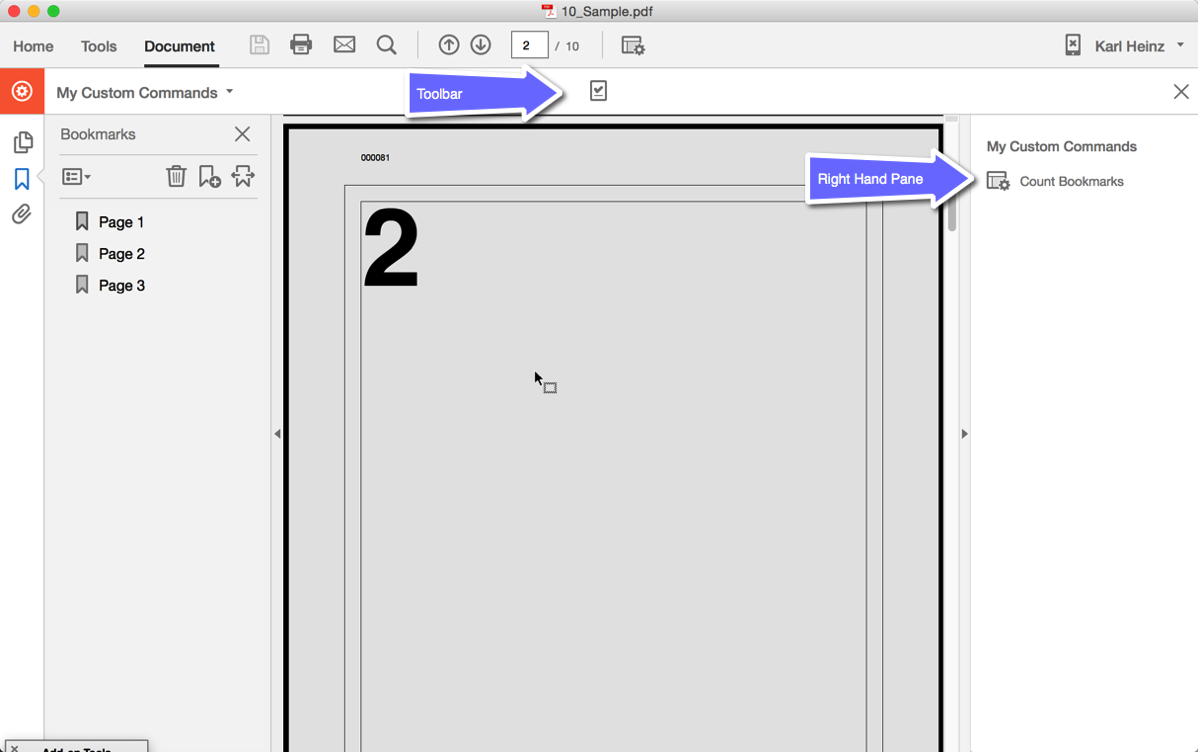
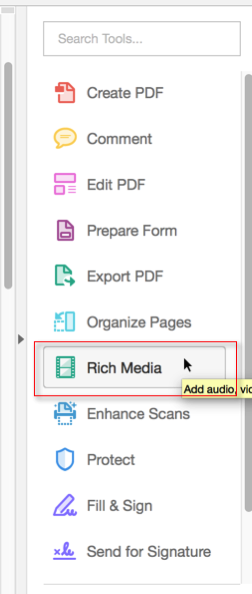
From now on, this toolset is just one button click away:
You can download a PDF file with an embedded Word document form here: launchAttachment.pdf
